Using `xx ai` with CMND
The xx ai command is designed to seamlessly integrate your Xest project with CMND, allowing you to leverage the power of CMND's tools and capabilities within your project. This command sets up a local server and provides a unique, temporary link that you can use to connect your project to CMND.
Step-by-Step Guide
1. Running the xx ai Command
In your terminal, run the following command within the root of your Xest project:
xx ai
2. Getting the CMND Extension Link
After running the command, you will see a message in your terminal like the one below:
XestGPT CMND Extension is available on https://<unique-subdomain>.loca.lt
This link is your gateway to connecting your Xest project with CMND.
3. Connecting to CMND
Go to CMND Dashboard: Open your web browser and log in to your CMND account.
Navigate to Connections:
- On the left-hand side menu, click on "Connections."
Create a New Connection:
- Click on the "+ New Connection" button.
- Select "CMND Extensions API" from the list of available connections.
Enter Connection Details:
- Integration Name: Give your connection a name, e.g.,
my-database. - API Base URL: Paste the link you received from the terminal (e.g.,
https://<unique-subdomain>.loca.lt). - Token: Enter any token you want for security purposes.
Click on the "Connect" button to establish the connection.
- Integration Name: Give your connection a name, e.g.,
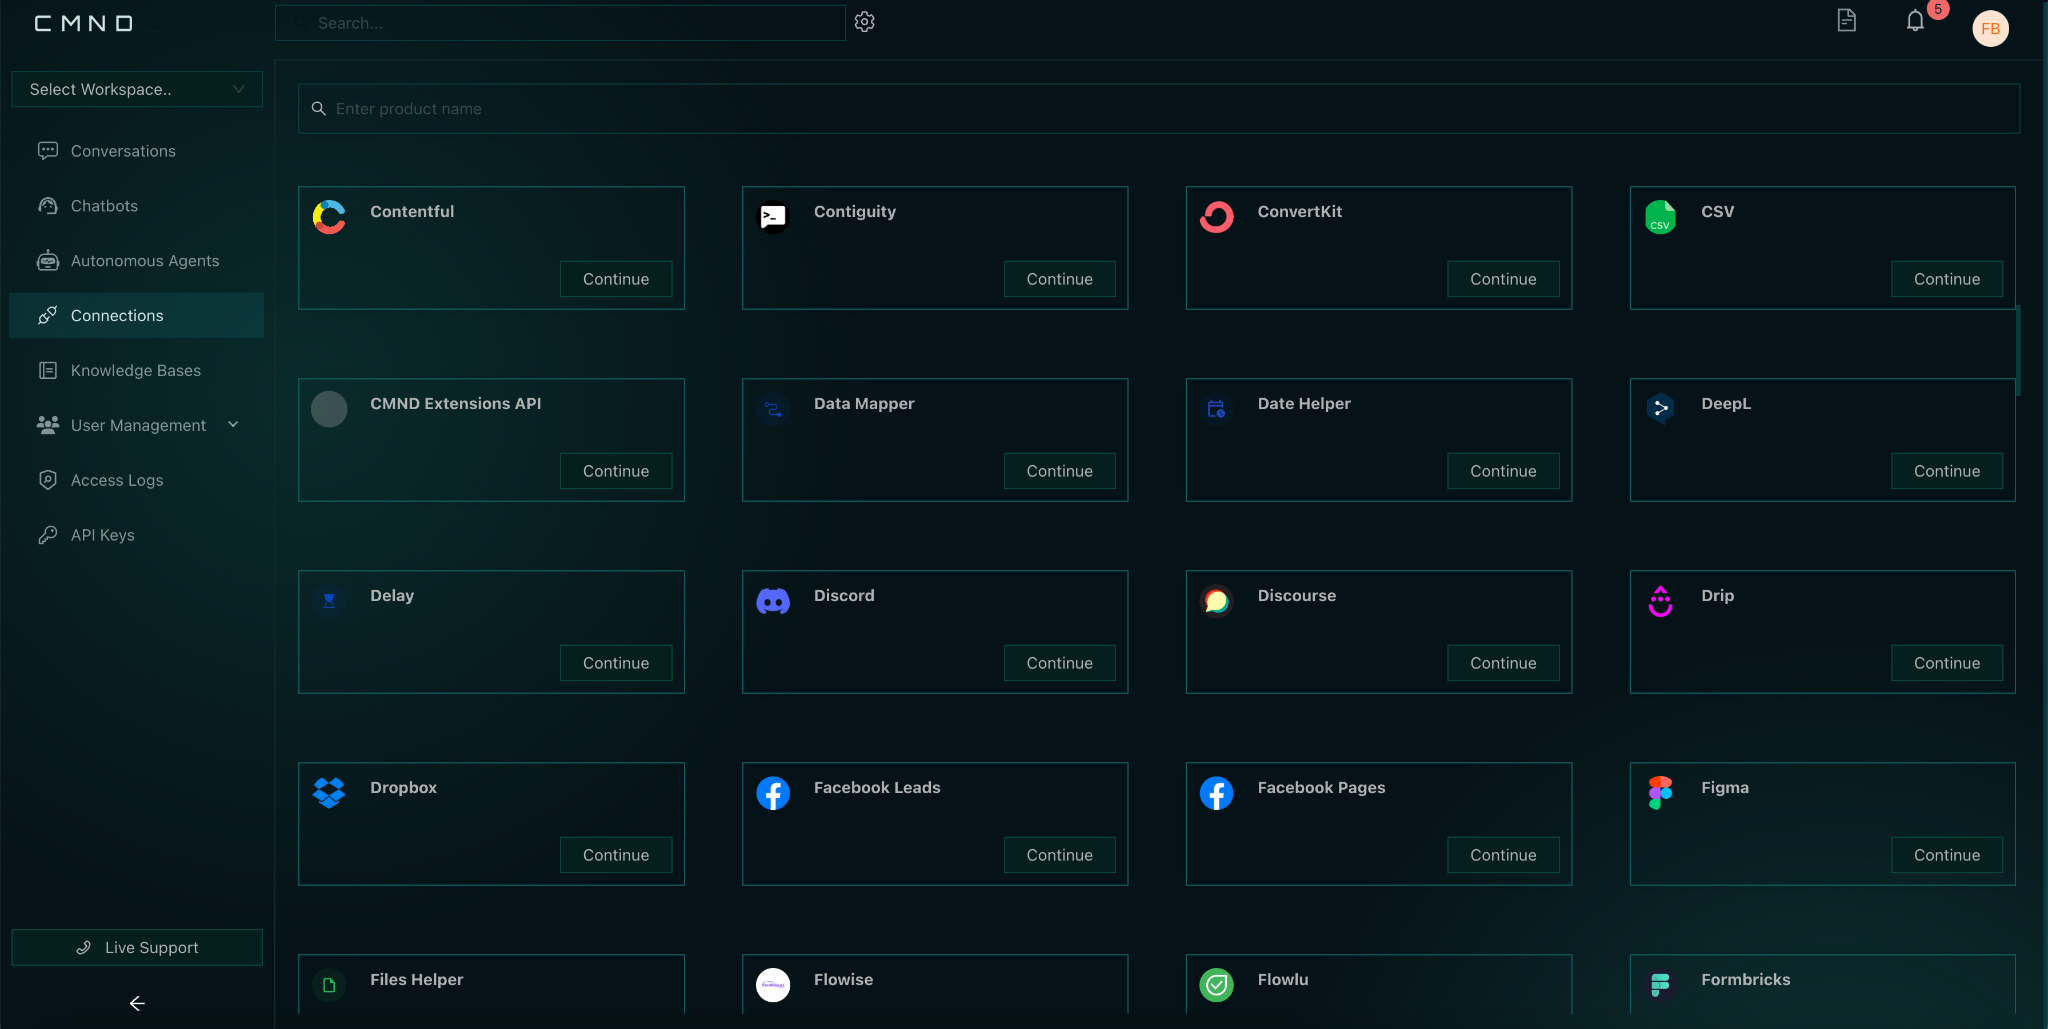
This image displays the CMND dashboard, specifically the "Connections" section where you can create a new connection using the link provided by xx ai.
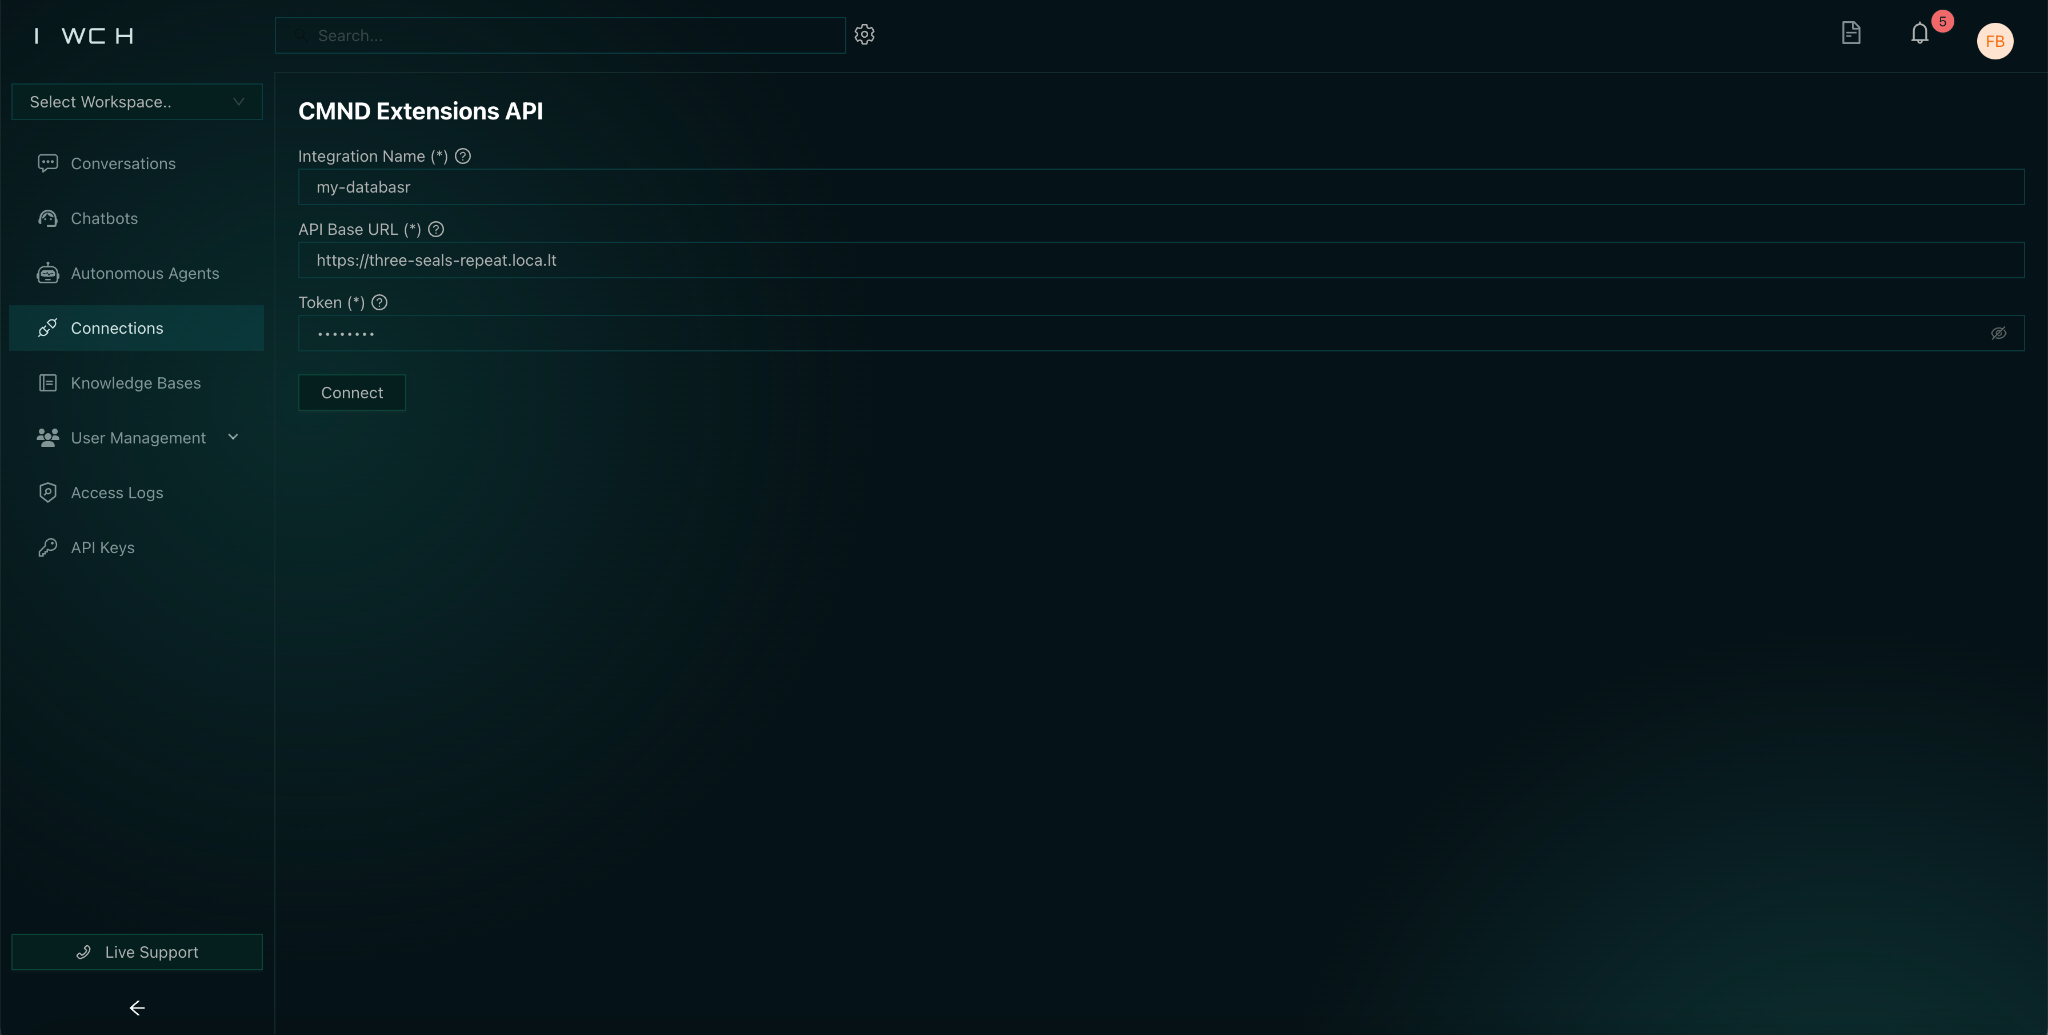
This image shows the details you need to enter when creating a new connection in CMND. It includes fields like Integration Name, API Base URL (from the xx ai output), and a Token
4. Verifying the Connection
Once connected, you will see your new connection listed under "Connections" in CMND with a status of "Active."

This image shows the "Connections" overview in CMND after successfully connecting to the Xest project. The connection status is "Active" , indicating that the integration is working
5. Using CMND Tools with Your Xest Project
With the connection established, you can now utilize various tools in CMND that interact with your Xest project.
Navigate to Conversations:
- On the left-hand side menu, click on "Conversations."
Using Tools:
- You can now use commands like
get_list_of_database_tablesand many others directly within CMND. - For example, running the
get_list_of_database_tablescommand will list all tables in your database.
- You can now use commands like
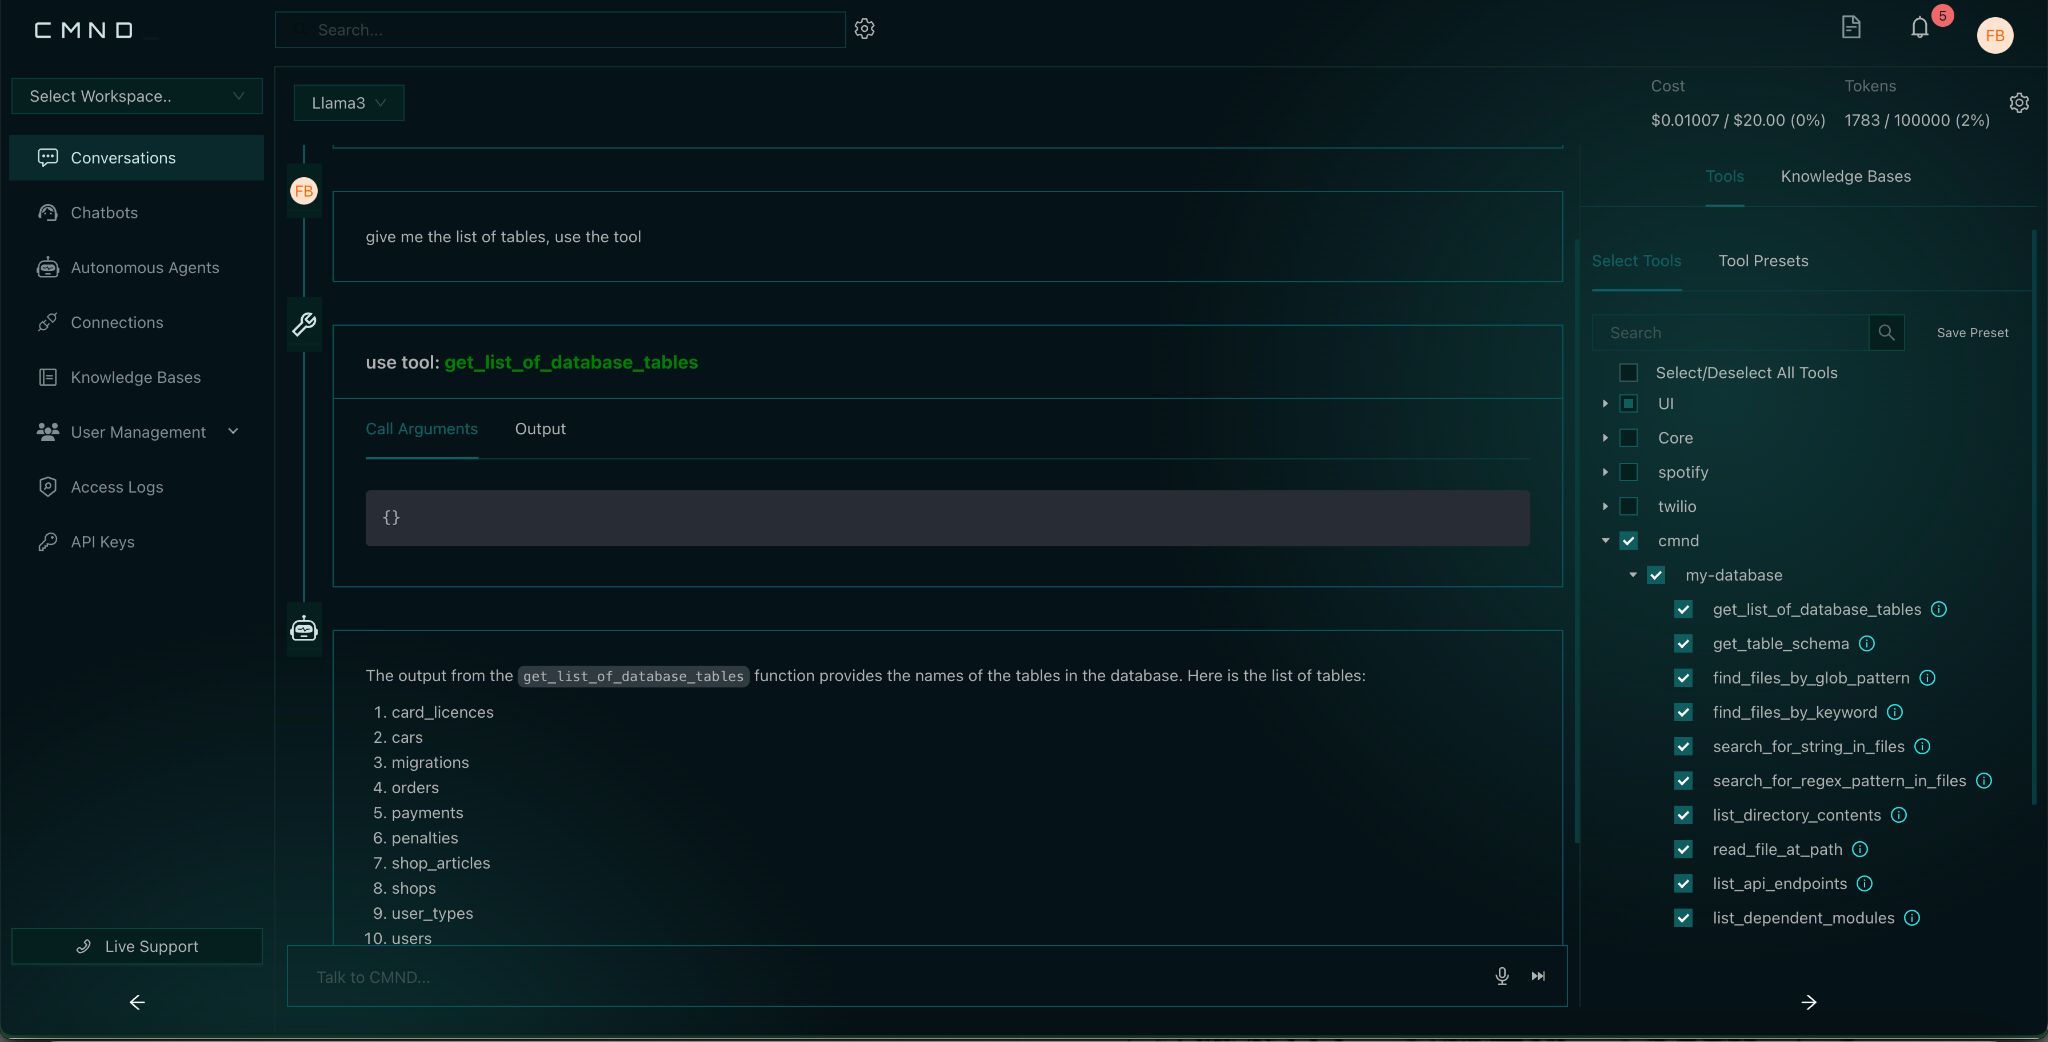
This image shows the "Conversations" section in CMND where you can use tools like get_list_of_database_tables. It demonstrates the output after running a tool command, showing a list of database tables
List of Available Tools
get_list_of_database_tables
- Description: Retrieves a list of all tables present in the connected database.
- Detailed Explanation: This tool is essential for understanding the structure of your database. It returns a simple list of table names, which is helpful for getting a quick overview of the database schema. You can use this as a starting point to further explore specific tables using other tools.
get_table_schema
- Description: Fetches the schema of a specified table, including columns, data types, and constraints.
- Detailed Explanation: Once you have identified a table of interest using the
get_list_of_database_tablestool, you can useget_table_schemato dive deeper into the table's structure. This tool provides detailed information about each column in the table, such as the column name, data type, whether it's a primary key, and any other constraints like uniqueness or foreign keys.
find_files_by_glob_pattern
- Description: Searches for files in the project that match a specific glob pattern.
- Detailed Explanation: This tool allows you to locate files in your project directory using glob patterns. For example, you can search for all
.jsor.tsfiles, or files in a specific directory. This is particularly useful for large projects where you need to quickly find files of a certain type or in a certain directory.
find_files_by_keyword
- Description: Searches for files that contain a specific keyword or phrase.
- Detailed Explanation: Instead of searching by file name, this tool looks inside files for a specific keyword. This is extremely useful for locating where a particular variable, function, or piece of text is used across your project. For example, you might search for all occurrences of
db.connectto find where your database connections are being established.
search_for_string_in_files
- Description: Searches for a specific string within files in the project directory.
- Detailed Explanation: This tool allows you to find exact string matches within your files. Unlike the
find_files_by_keyword, which is broader, this tool is used when you know the exact string you are looking for. It’s useful for debugging or tracing the use of specific strings throughout your codebase.
search_for_regex_pattern_in_files
- Description: Searches for files that match a specific regular expression (regex) pattern.
- Detailed Explanation: This tool is more advanced, allowing you to search for complex patterns in your code using regular expressions. Regex searches are powerful for identifying patterns like variable naming conventions, specific code structures, or even validating certain data formats within your files.
list_directory_contents
- Description: Lists all files and directories in a specified directory.
- Detailed Explanation: Use this tool to get a complete list of all files and folders in a directory. It's a quick way to navigate through your project structure without leaving CMND. You can drill down into subdirectories by specifying the path to the directory you’re interested in.
read_file_at_path
- Description: Reads and displays the contents of a file at a given path.
- Detailed Explanation: This tool allows you to read the contents of any file in your project. It's particularly useful for quickly checking the contents of configuration files, scripts, or any file that you need to review without opening it in a separate editor.
list_api_endpoints
- Description: Lists all API endpoints defined in your project.
- Detailed Explanation: This tool scans your project to identify all API endpoints. It's incredibly useful for getting an overview of your project's API structure, including the available routes, HTTP methods (GET, POST, etc.), and possibly the controllers associated with each endpoint.
list_dependent_modules
- Description: Lists all modules that depend on a specified module.
- Detailed Explanation: This tool helps you understand the dependencies within your project by identifying which modules or files are dependent on a specific module. This is particularly useful for refactoring or understanding the impact of changes to core modules.
list_modules_imported_by
- Description: Lists all modules imported by a specific module.
- Detailed Explanation: This tool provides the reverse of the
list_dependent_modulestool, showing you all the modules that a specific module depends on. It helps in understanding the dependency tree and can be useful when modularizing your project or tracking down issues caused by imported modules.
show_controller_for_api_endpoint
- Description: Displays the controller responsible for handling a specific API endpoint.
- Detailed Explanation: If you’re working with a RESTful API, this tool is invaluable for tracing which controller is handling a specific endpoint. It helps in quickly locating the logic that processes requests for a particular route, making it easier to debug or extend functionality.
show_request_data_schema_for_api_endpoint
- Description: Shows the schema of the data expected by a specific API endpoint.
- Detailed Explanation: This tool provides the data schema for an API endpoint, detailing what data is expected in the request. This is critical for ensuring that clients interacting with your API send the correct data format and types. It’s useful for both developers and API consumers.
show_query_files_for_api_endpoint
- Description: Displays the files that define the database queries used by a specific API endpoint.
- Detailed Explanation: This tool traces the database queries associated with an API endpoint, showing the files where these queries are defined. This is particularly helpful for optimizing queries or debugging issues related to database interactions in your API.
These tools provide a comprehensive set of functionalities that can significantly streamline your development workflow when working with Xest projects integrated with CMND. Each tool is designed to provide deep insights and control over different aspects of your project, from database management to code analysis and API management.
6. Restarting the xx ai Link
The xx ai link provided is temporary and will expire. If it does, simply rerun the xx ai command to generate a new link.
If the link expires, you'll see a message like this:
XestGPT CMND Extension link has expired. Restart xx ai
You can restart the process by rerunning the xx ai command, which will provide you with a new link.
This setup allows you to leverage the full potential of CMND's tools directly within your Xest project, making it easier to manage, query, and interact with your database and codebase.