Deploy Xest API Project to AWS ElasticBeanstalk
Deploying a Xest project to AWS is straightforward with the Xest CLI. Follow these steps to set up your environment and deploy your project.
Step 1: Create an Amazon Web Services Account
If you don't have an AWS account yet, you can create one here: AWS.
Step 2: Deploy Your Xest Project to AWS
Run the following command to start the deployment process:
xx deploy
Step 3: Choose AWS as the Deployment Platform
The Xest CLI will present you with options. Use the arrow keys to select AWS:
Starting deployment...
? Select the deployment platform (Use arrow keys)
 Digital Ocean
❯  AWS
After choosing AWS, some stacks will start installing
Installing AWS CDK packages...
...
...
Creating stack directory and files...
AWS CDK setup complete. Files created successfully.
Please go to the variables.ts file inside the stack directory to make the necessary changes.
Deployment files created successfully for AWS.
Once the installation is complete, two directories will be generated: .circleci and stack.
The .circleci directory will contain all the necessary configurations inside config.yml.
Step 4: Update the variables.ts File
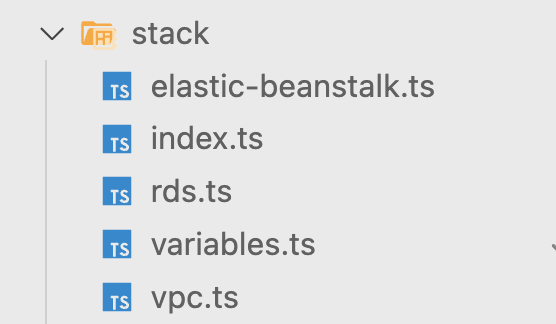
The stack directory will contain five files. The variables.ts file is where you need to make your variable changes.
Example Changes in variables.ts
const sslArn: string =
  "arn:aws:acm:eu-west-2:XXXXXX:certificate/xxxxx-xxxxx-xxxx-xxxxx";

const officeIpCode: string = "xxx.xxx.xxxx.xx/32";
Setting Up Additional AWS Services
To complete the setup, you need to configure several AWS services:
Setting Up a New Public Hosted Zone on Route 53
- Log in to the AWS Management Console.
- Navigate to Route 53:
- Go to the Route 53 dashboard and click on "Hosted zones."
- Create a New Hosted Zone:
- Click on "Create Hosted Zone."
- Enter your domain name and select "Public Hosted Zone."
- Click on "Create."
- Update Your Domain Registrar:
- Note the name servers provided by Route 53.
- Update your domain registrar with these name servers to link your domain to the hosted zone.
Setting Up an ACM Wildcard Certificate
- Navigate to the ACM Dashboard:
- Go to the ACM (AWS Certificate Manager) dashboard in the AWS Management Console.
- Request a Certificate:
- Click on "Request a certificate."
- Select "Request a public certificate."
- Enter your domain name as
*.yourdomain.comto request a wildcard certificate.
- Validate the Certificate:
- Choose DNS validation.
- Add the provided CNAME records to your DNS configuration in Route 53.
- Once AWS validates the records, your certificate will be issued.
Setting Up an IAM User with Admin Access
- Navigate to the IAM Dashboard:
- Go to the IAM (Identity and Access Management) dashboard in the AWS Management Console.
- Create a New User:
- Click on "Users" and then "Add user."
- Enter a username and select "Programmatic access."
- Set Permissions:
- Attach the "AdministratorAccess" policy to the user.
- Click on "Next: Tags" and then "Next: Review."
- Click on "Create user."
- Save Access Credentials:
- Save the access key ID and secret access key. You will need these for CircleCI.
Setting Up AWS Credentials in CircleCI Project Settings
- Navigate to Your CircleCI Project:
- Go to the CircleCI dashboard and select your project.
- Add Environment Variables:
- Go to "Project Settings" and then "Environment Variables."
- Add the following variables with your AWS credentials:
AWS_ACCESS_KEY_IDAWS_SECRET_ACCESS_KEY
- Configure Additional Variables:
- Add any additional environment variables required for your deployment, such as
SSL_ARNandOFFICE_IP_CODE.
- Add any additional environment variables required for your deployment, such as